
The attendance module makes it easier for for instructors to manage the presence of students in the class. There are three options for taking attendance:the instructor can mark the student’s attendance; the student can mark his own attendance; or Moodle can automatically mark the attendance based on a student’s access to the course.
The instructor can use the “code” or QR option to have the students mark their own presence.
- Enter the course site.
- Click Edit.

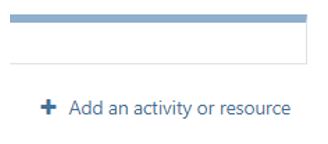
- Click “Add an activity or resource.”
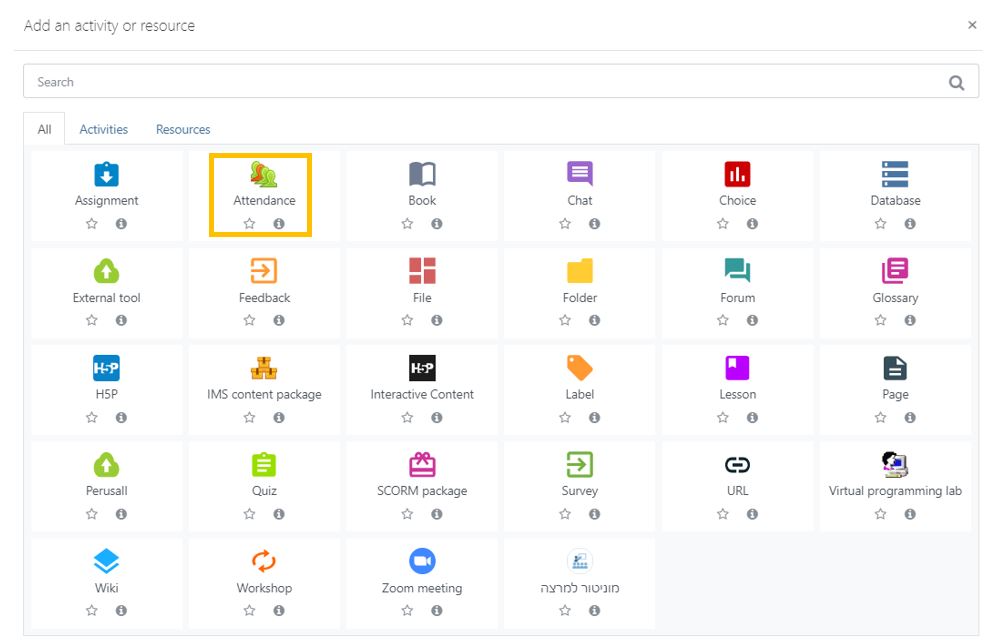
- Click “Attendance”
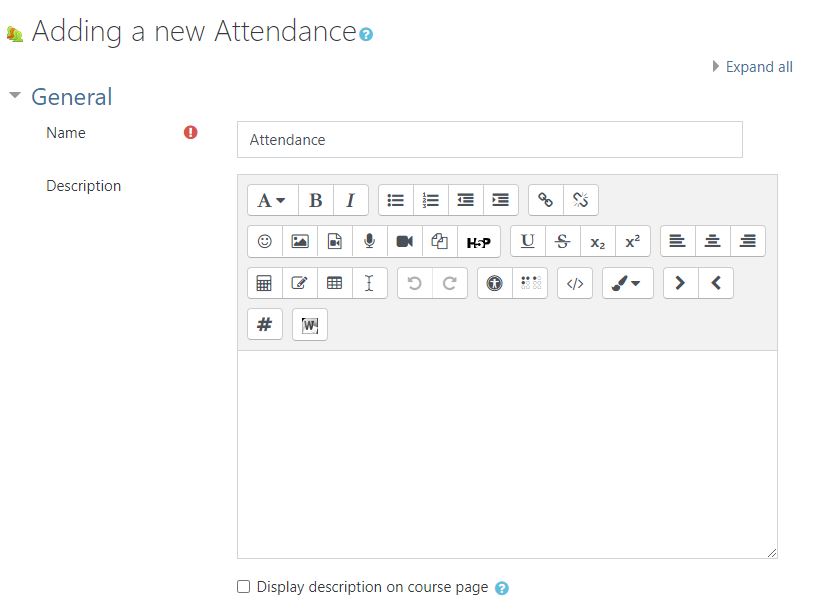
- Complete the general information
- Click “Save and Display”

To Add Class Sessions to the Attendance Module:
- After clicking “Save and Display” (you may have to enter the module and click “edit” and then “Save and Display” again).
- Click “Add session”
- Choose “All Students” or “Group of Students”
- Choose the “Date” and “Time” of the class

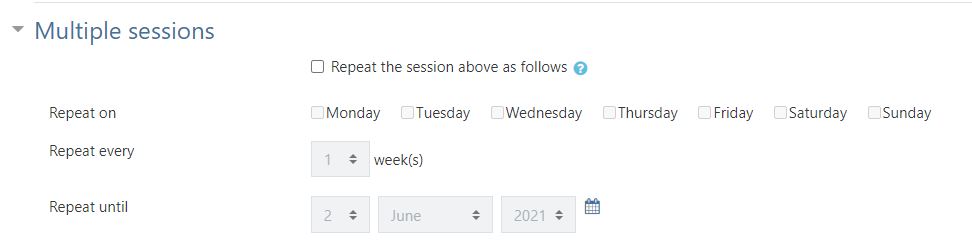
- For classes that are held on a schedule, the same day and time click on “Multiple sessions” and complete the relevant information.
- To allow the students to record their own attendance check the box.
You can choose that a password or QR code be generated for the session. Students will only be able to mark themselves present if they have the password or QR code.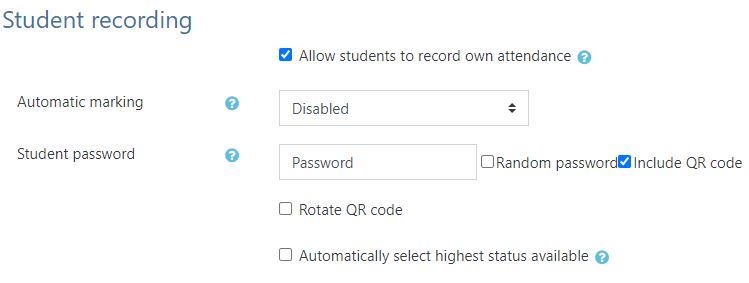
- Click “Add”

- Repeat the process for additional classes.
- Enter the Course
- Click on the “Attendance” link

- Click on the triangle
- Mark the students presence
- Click “Save Attendance”
You may want to have your students mark themselves present. To do this generate a password or QR code for each session. At some point in the session give the students the password or show them the QR code.
- Enable students to mark themselves present
- In the section Add Session
- Under “Student Recording”
- Check the boxes to “Allow students to record own attendance”
- Enter a Password or check the Random Password box
- If you want to include a QR code, check the box
(The rotate QR code option, changes the QR code often)
- In the section Add Session
- On the Session click the generate password box (If the password and/or QR code are random).
- Share the Password/ QR Code with your students
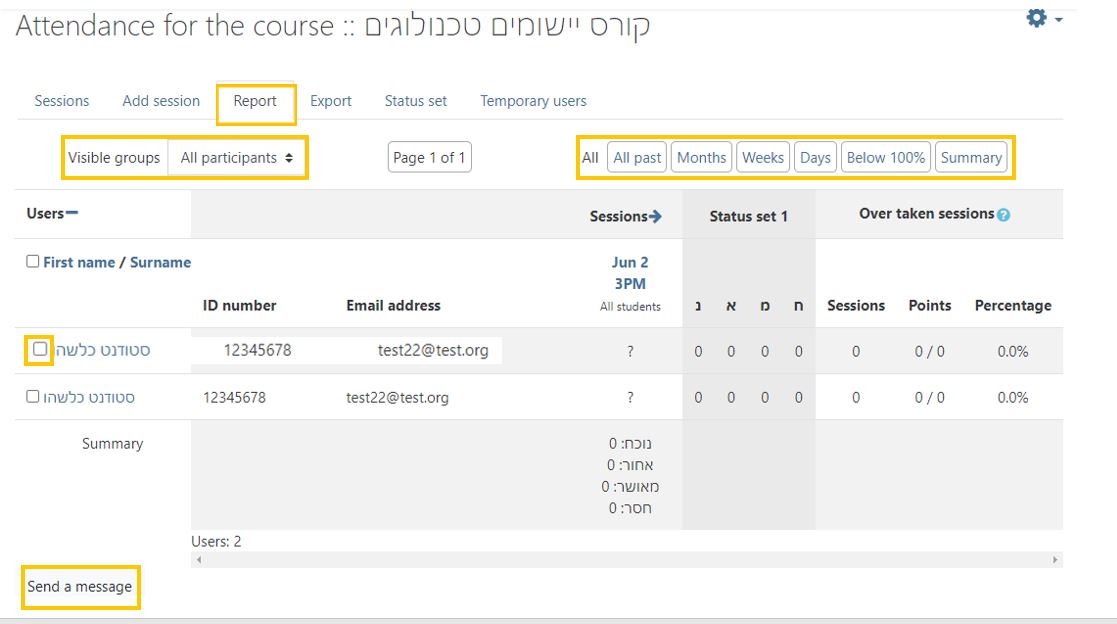
- You can view attendance reports for All Participants or those in a specific Group.
- You can view the report for a specific time period or only those students below 100% attendance.
- You can send a message to a student/s by checking the box next to their name and clicking “Send a Message.”
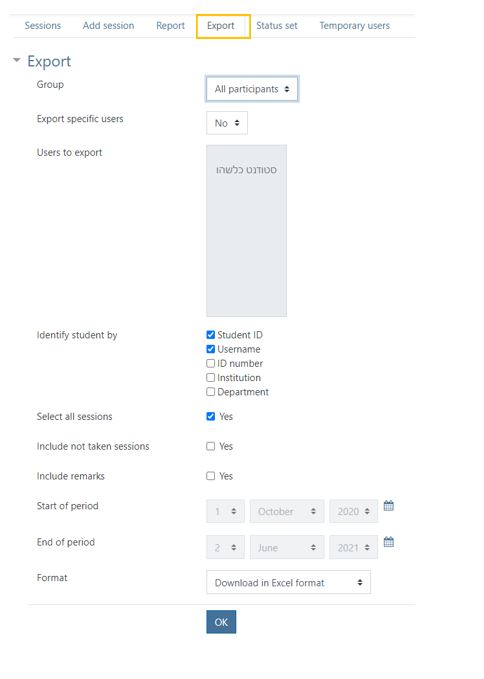
You can choose to export list of all students, a group of students or a particular student.
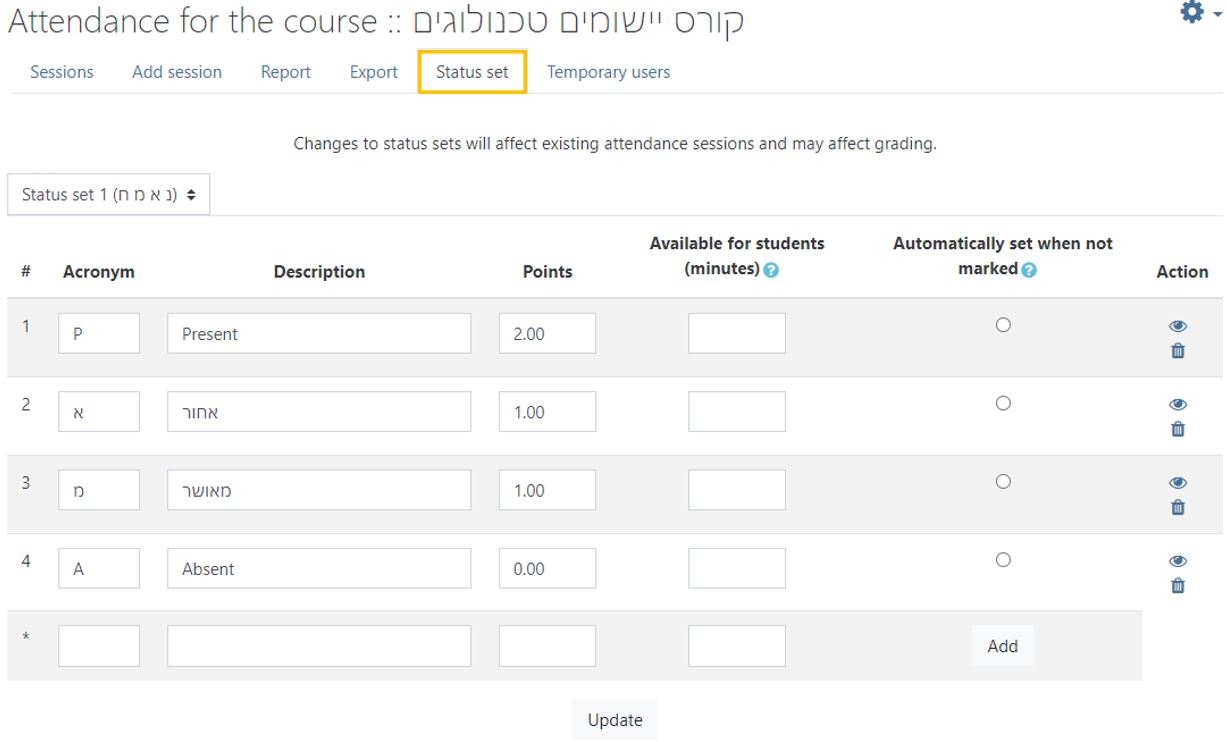
You can change the Acronyms to anything you like and the points that they are worth. After entering the changes click on “Update.”
Attendance
The attendance module makes it easier for for instructors to manage the presence of students in the class. There are three options for taking attendance:the instructor can mark the student’s attendance; the student can mark his own attendance; or Moodle can automatically mark the attendance based on a student’s access to the course.
The instructor can use the “code” or QR option to have the students mark their own presence.
Add Attendance to Your Course
- Enter the course site.
- Click Edit.
- Click “Add an activity or resource.”
- Click “Attendance”
- Complete the general information
- Click “Save and Display”
Add Class Sessions
To Add Class Sessions to the Attendance Module:
- After clicking “Save and Display” (If you have already added the module, without entering edit mode, click on the “attendance” link).
- Click “Add session”
- Choose “All Students” or “Group of Students”
- Choose the “Date” and “Time” of the class
- For classes that are held on a schedule, the same day and time click on “Multiple sessions” and complete the relevant information.
- To allow the students to record their own attendance check the box.
You can choose that a password or QR code be generated for the session. Students will only be able to mark themselves present if they have the password or QR code.
- Click “Add”
- Repeat the process for additional classes.
Take Attendance
- Enter the Course
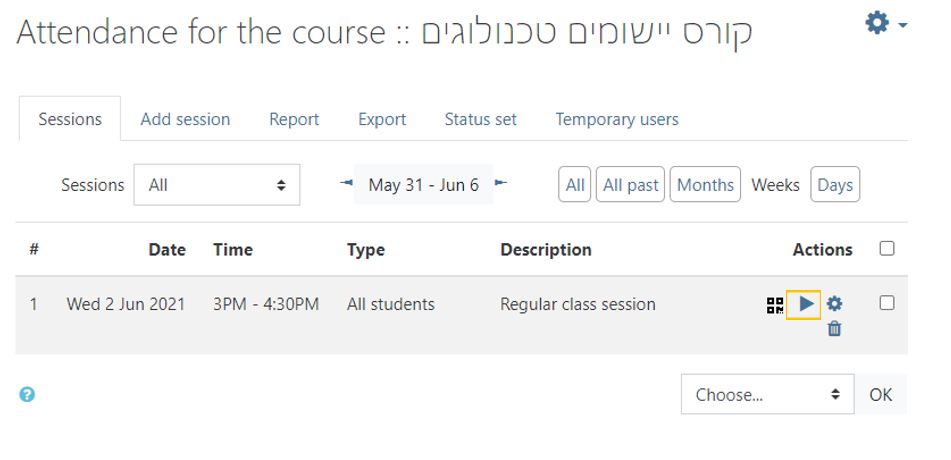
- Click on the “Attendance” link
- Click on the triangle
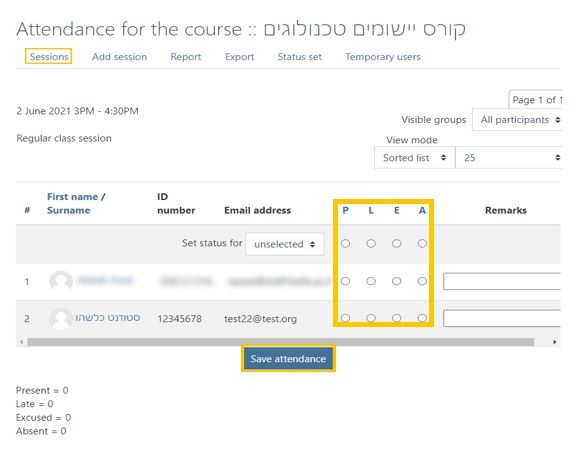
- Mark the students presence
- Click “Save Attendance”
Passwords & QR Code
You may want to have your students mark themselves present. To do this generate a password or QR code for each session. At some point in the session give the students the password or show them the QR code.
- Enable students to mark themselves present
- In the section Add Session
- Under “Student Recording”
- Check the boxes to “Allow students to record own attendance”
- Enter a Password or check the Random Password box
- If you want to include a QR code, check the box
(The rotate QR code option, changes the QR code often)
- In the section Add Session
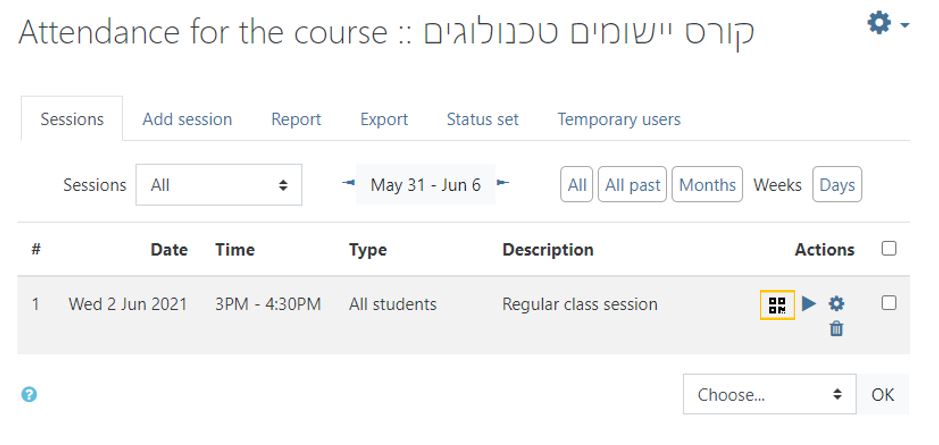
- On the Session click the generate password box (If the password and/or QR code are random).
- Share the Password/ QR Code with your students
Reports
- You can view attendance reports for All Participants or those in a specific Group.
- You can view the report for a specific time period or only those students below 100% attendance.
- You can send a message to a student/s by checking the box next to their name and clicking “Send a Message.”
Export
You can choose to export list of all students, a group of students or a particular student.
Status Set
You can change the Acronyms to anything you like and the points that they are worth. After entering the changes click on “Update.”


