
File
Upload a File.
File
This component allows you to upload different file types to Moodle. The student needs to have access to the appropriate program to open the file.
To upload files larger than 50 MB see “Dropbox – Collecting and Storing Large Files.”
Upload a File.
- Enter the course site.
- Click “Edit.”

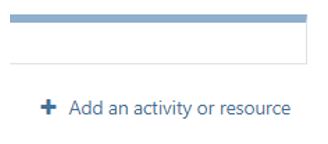
- Click “Add an activity or resource.”
- Click “File”

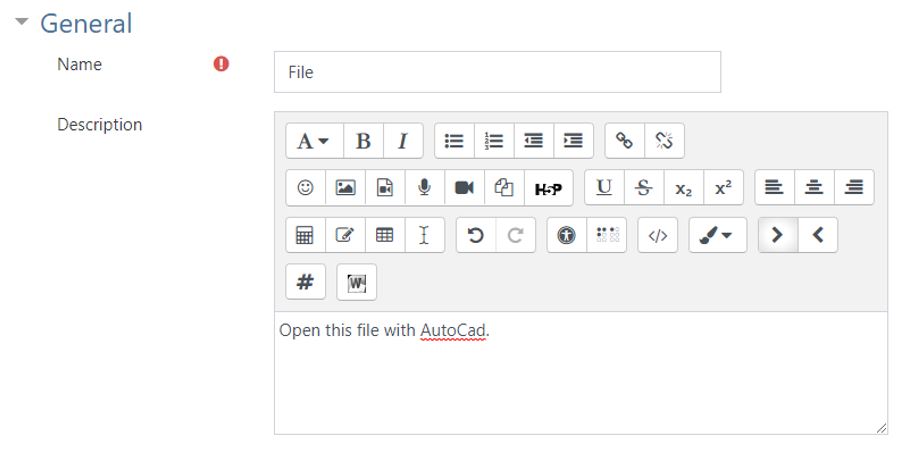
- Enter the title and description of the file.
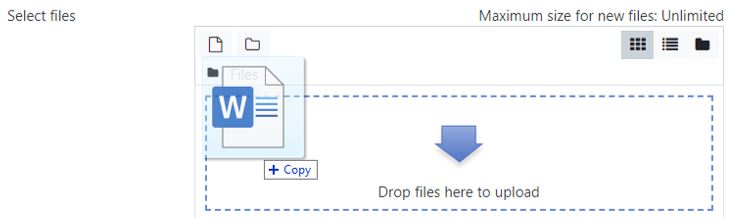
There are two options to upload a file: Drag and Drop or Select and Upload.
To upload a file larger than 50 MB see “Dropbox.”
- Drag the file from your personal computer and drop it in the rectangle area in Moodle.
- Select and Upload a file.
- Click Add.
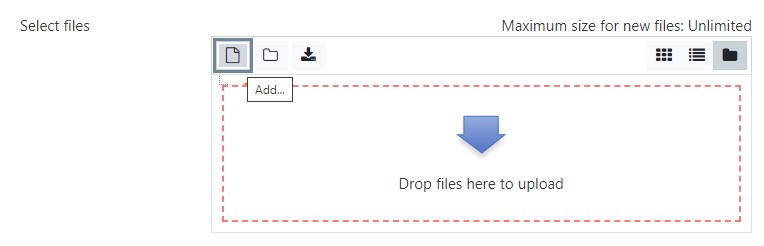
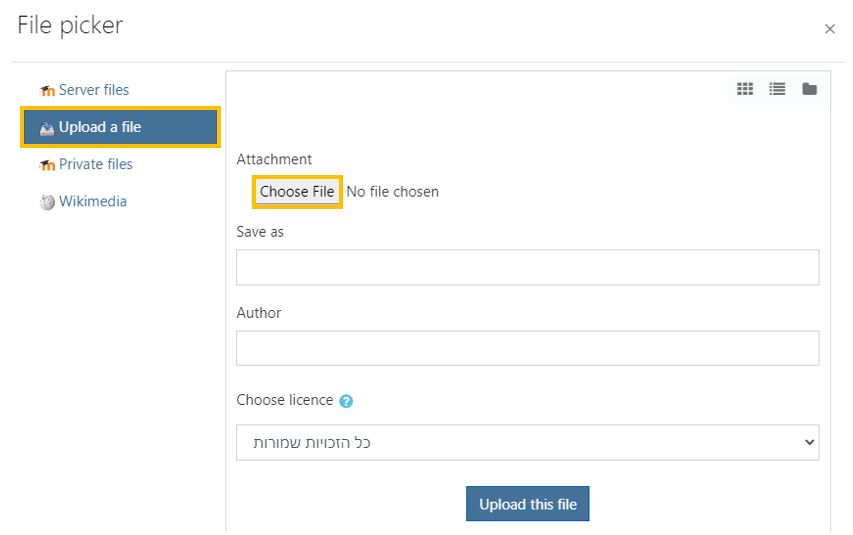
- Click “Upload a file” and “Choose File”
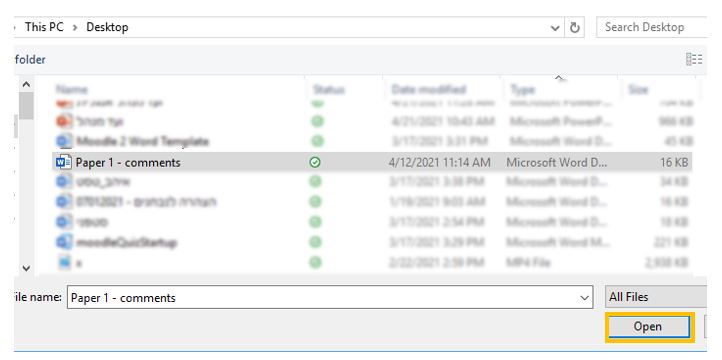
- Choose the file from your personal computer and click “Open.”
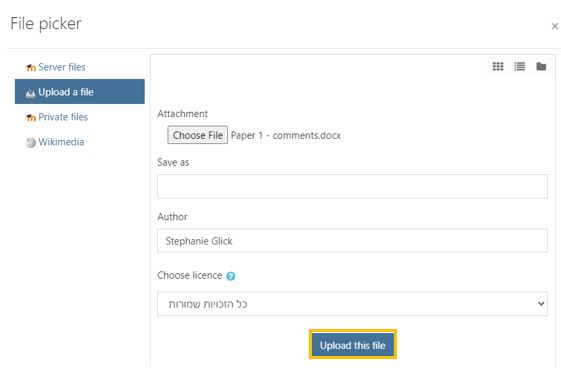
- Click “Upload this file.
- Click Add.
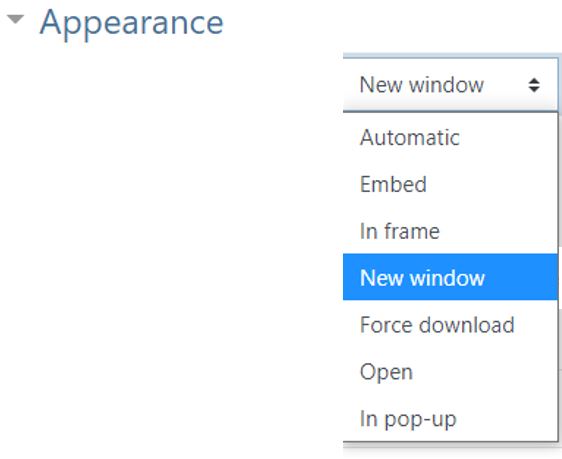
- Select Display options
- Automatic– let Moodle decide the best option for you.
- Embed– show the file as part of the Moodle page (images, PDFs, videos)
- In frame– show the Moodle heading and the file description, with the file displayed in a resizable area below.
- New window– very much like ‘in pop-up’, but the new window is a full browser window, with menus and address bar, etc.
- Force download– force the user to save the file or open it in a program on their computer.
- Open– show the file in the browser, but without the Moodle page decorations (images, PDFs, videos)
- In pop-up– Same as ‘Open’ but opens a new browser window to show this file (without the Moodle heading, blocks, etc.) – this browser window also does not have all the menus and address bar in it.
- Save

File
This component allows you to upload different file types to Moodle. The student needs to have access to the appropriate program to open the file.
To upload files larger than 50 MB see “Dropbox – Collecting and Storing Large Files.”
Upload a File.
- Enter the course site.
- Click “Edit.”
- Click “Add an activity or resource.”
- Click “File”
- Enter the title and description of the file.
There are two options to upload a file: Drag and Drop or Select and Upload.
To upload a file larger than 50 MB see “Dropbox.”
- Drag the file from your personal computer and drop it in the rectangle area in Moodle.
- Select and Upload a file.
- Click Add.
- Click “Upload a file” and “Choose File”
- Choose the file from your personal computer and click “Open.”
- Click “Upload this file.
- Click Add.
- Select Display options
- Automatic– let Moodle decide the best option for you.
- Embed– show the file as part of the Moodle page (images, PDFs, videos)
- In frame– show the Moodle heading and the file description, with the file displayed in a resizable area below.
- New window– very much like ‘in pop-up’, but the new window is a full browser window, with menus and address bar, etc.
- Force download– force the user to save the file or open it in a program on their computer.
- Open– show the file in the browser, but without the Moodle page decorations (images, PDFs, videos)
- In pop-up– Same as ‘Open’ but opens a new browser window to show this file (without the Moodle heading, blocks, etc.) – this browser window also does not have all the menus and address bar in it.
- Save


