
Benefits of using Groups
Group Modes
Manually Create Groups
Auto-Create Groups
Add/Remove Members of a Group
Grouping
Gradebook -- View Only Members of a Group
Restrict Access to a Specific Group
Send a Message to a Group
Benefits of using Groups
A Group of users available in an individual course.
Use a group when:
- You are teaching with other instructors and you want to be able to see your section only.
- You have activities and resources for a specific group of students, and you do not want other students to see them.
- You want your students to work collaboratively on activities and you want to be able to receive a group submission and give a group grade.
- You teach the same course to two different groups of students that meet on different days/times.
- You can have a group of 1 and restrict an assignment/activity to that one student.
- You can put students in multiple groups at the same time.
- Instructors can set up different group memberships for different assignments/activities.
- Groups of students can be assigned different activities.
Group Modes
- No groups – There are no sub-groups, all students are part of the same course.
- Separate groups – Each group can only see their own group, others are invisible.
- Visible groups – Each group works in their own group but can also see other groups. (The other groups’ work is read-only.)
Manually Create Groups
- Enter the course site.
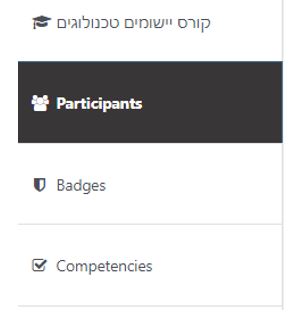
- Click “Participants.”
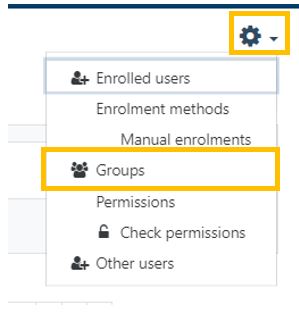
- Click on the cog and select “Groups.”
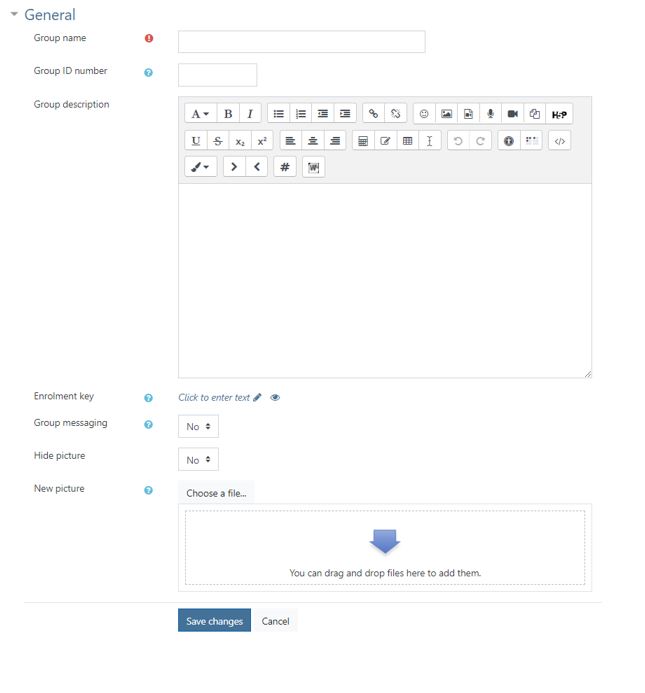
- Click on “Create Group.”

- Enter a Group name and description and optionally:
- Enrolment key – If you want students to enroll themselves in a group, write the key here and give the key to the students.
- Group messaging – enables group members to send messages to other group members within Moodle.
- Picture – you can upload a group picture for easy identification.
- Save Changes
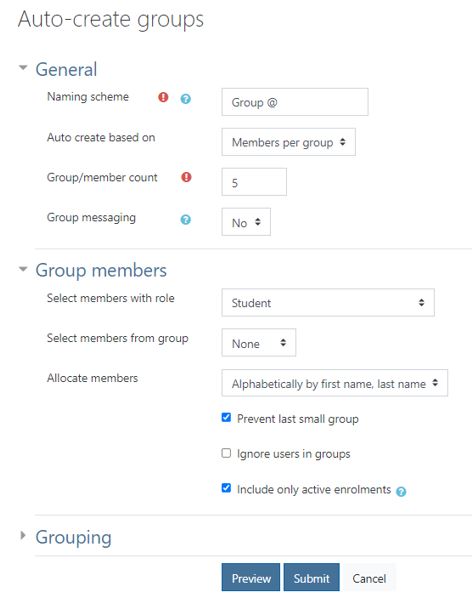
Auto-Create Groups
- Enter the course site.
- Click “Participants.”
- Click on the cog and select “Groups.”
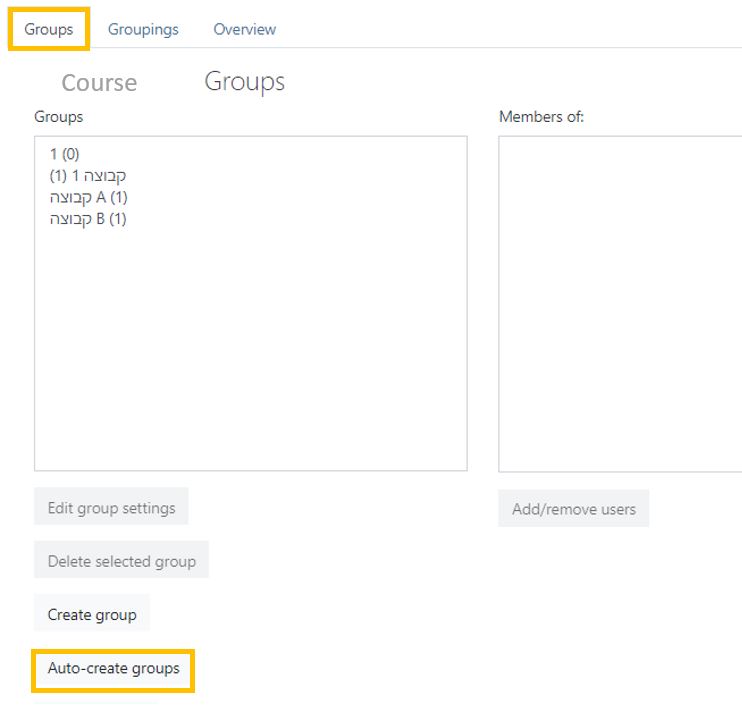
- Click on “Auto-create Groups.”
- Enter a Naming Scheme (use “#” for numbers and “@” for letters)
- Auto create based on “Number of Groups” or “Members per Group.”
- Enter the number of “groups” or “group members.”
- Group messaging – enables group members to send messages to other group members within Moodle.
- Select group allocation method.
- Prevent last small group – if groups are created by allocating a certain number of members, select this box to prevent a group being created with a small number (the students will be allocated to different groups).
- Submit
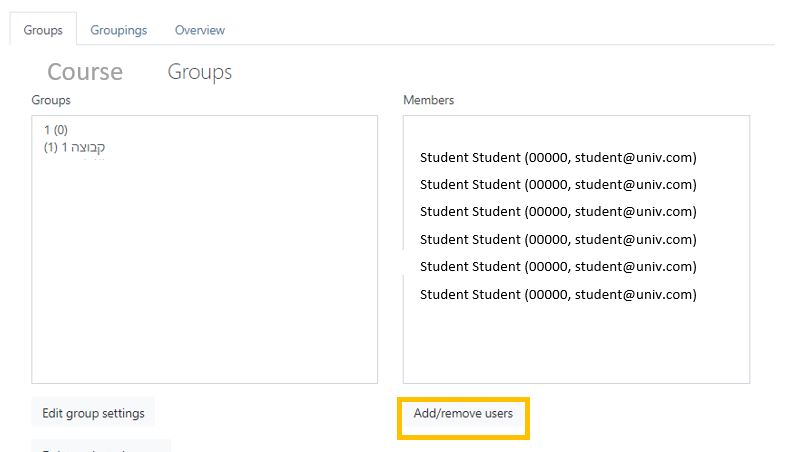
Add/Remove Members of a Group
- Enter the course site.
- Click “Participants.”
- Click on the cog and select “Groups.”
- Select the Group.
- Click “Add/Remove Users.”
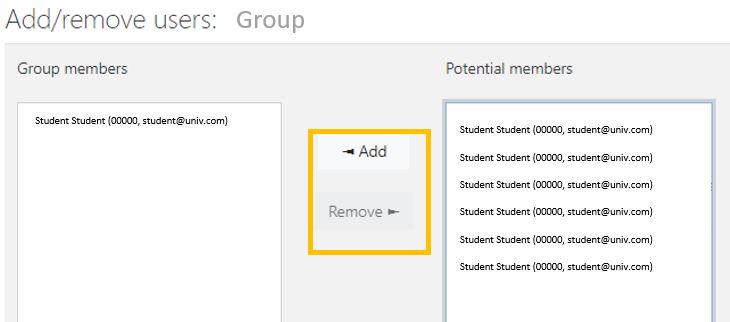
- Select the Member Name/s (Possible more than one at a time).
- Click “Add/Remove”
Grouping
Groupings are a group of individual groups.
To create a grouping:
- Enter the course site.
- Click “Participants.”
- Click on the cog and select “Groups.”
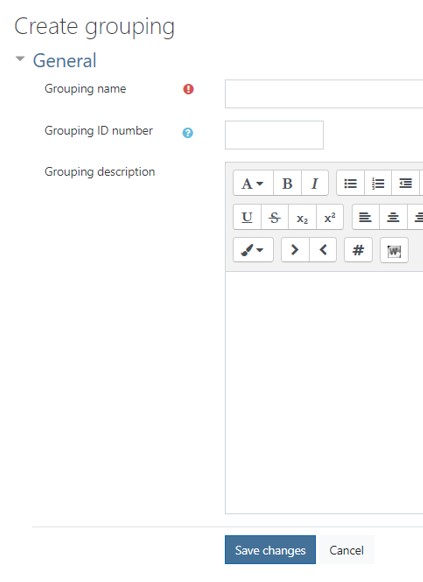
Create groupings Manually or Automatically
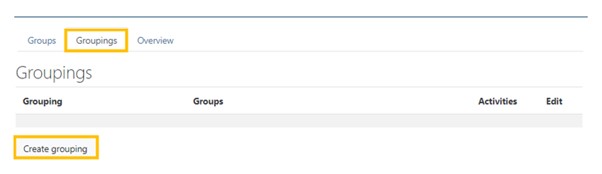
To Manually Create a Grouping:
- Select the “Groupings” tab.
- Click on “Create grouping”
- Enter a Group name and description.
- Save Changes
To Auto-Create a Grouping:
- Click on “Auto-create Groups.”
- Enter a Naming Scheme (use “#” for numbers and “@” for letters)
- Auto create based on “Number of Groups” or “Members per Group.”
- Enter the number of “groups” or “group members.”
- Group messaging – enables group members to send messages to other group members within Moodle.
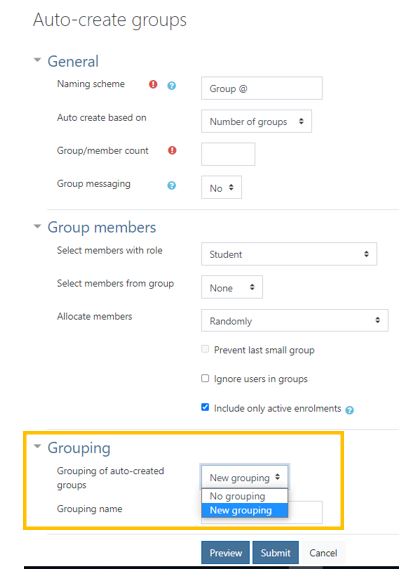
- Select “New Grouping.”
- Enter a Grouping Name
- Submit
Gradebook -- View Only Members of a Group
- Ensure that the course settings are set to show groups.
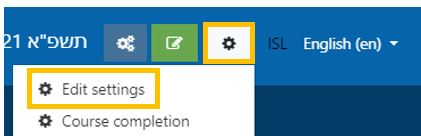
- Enter the Course.
- Click on the “Cog” and select “Edit Settings.”
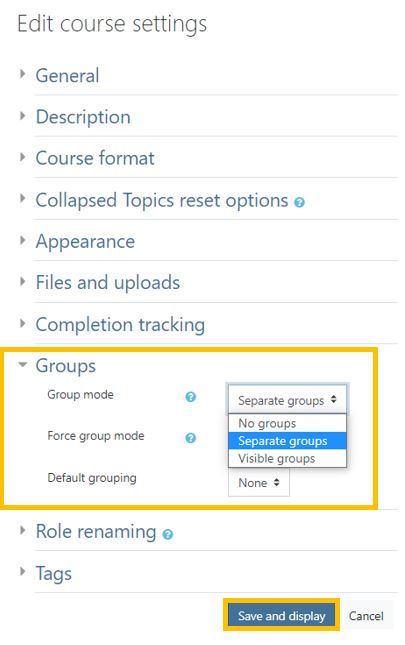
- Select the “Group Mode” (It is possible to change the mode on individual tasks).
- Save and Display.
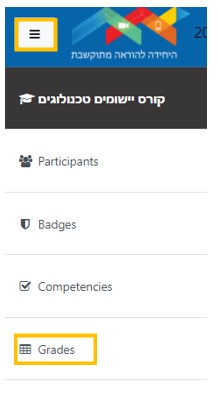
- Click on Grades.
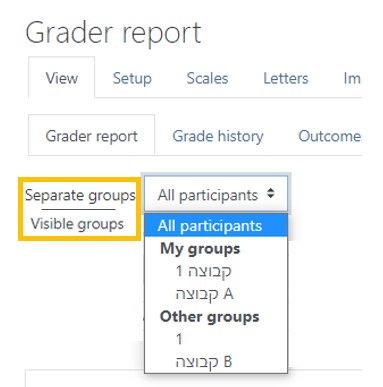
- Select the group to display.
Restrict Access to a Specific Group
- Enter the course site.
- Click “Edit.”

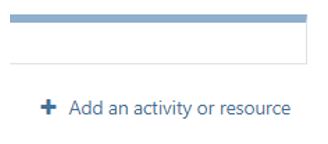
- Click “Add an activity or resource.”
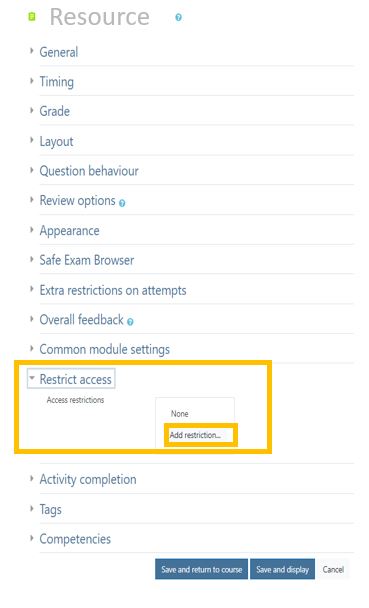
In the settings of the activity or resource, in the section “Restrict Access”:
- Click “Add Restriction”
- Select “Group”
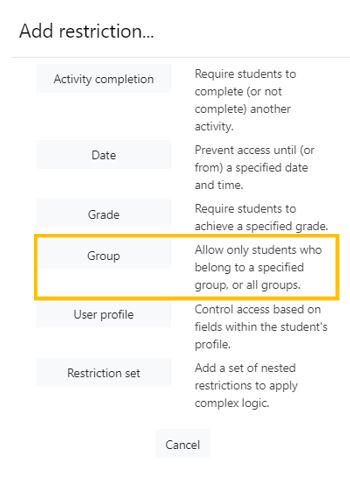
- Select the criterion.
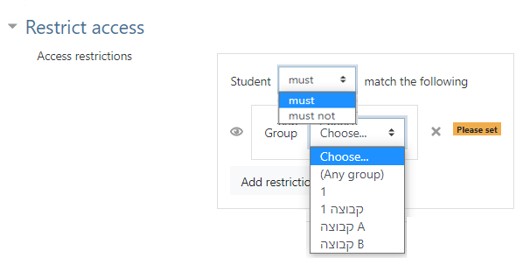
- Save

Send a Message to a Group
- Ensure that the course settings are set to show groups.
- Enter the Course.
- Click on the “Cog” and select “Edit Settings.”
- Select the “Group Mode” (It is possible to change the mode on individual tasks).
- Save and Display.
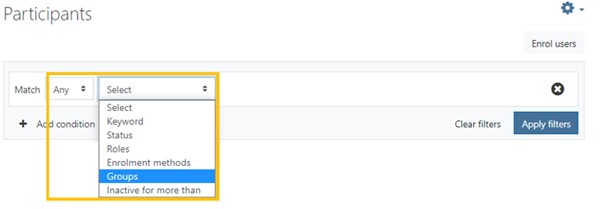
- Click on Participants.
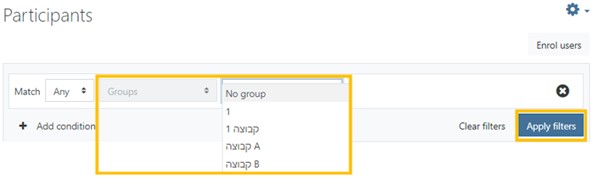
- Select “Groups”
- Select the Group Name
- Click Apply Filters
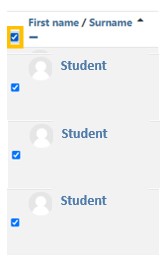
- Select all the members.
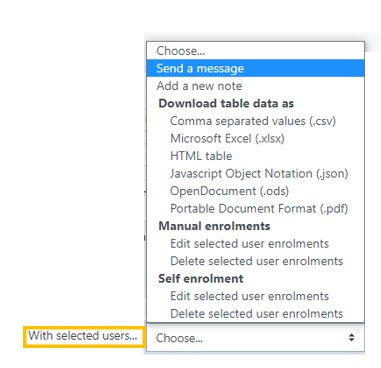
- Select “Send a Message”
Benefits of using Groups
A Group of users available in an individual course.
Use a group when:
- You are teaching with other instructors and you want to be able to see your section only.
- You have activities and resources for a specific group of students, and you do not want other students to see them.
- You want your students to work collaboratively on activities and you want to be able to receive a group submission and give a group grade.
- You teach the same course to two different groups of students that meet on different days/times.
- You can have a group of 1 and restrict an assignment/activity to that one student.
- You can put students in multiple groups at the same time.
- Instructors can set up different group memberships for different assignments/activities.
- Groups of students can be assigned different activities.
All activities support groups except for Glossary.
Group Modes
- No groups – There are no sub-groups, all students are part of the same course.
- Separate groups – Each group can only see their own group, others are invisible.
- Visible groups – Each group works in their own group but can also see other groups. (The other groups’ work is read-only.)
Manually Create Groups
- Enter the course site.
- Click “Participants.”
- Click on the cog and select “Groups.”
- Click on “Create Group.”
- Enter a Group name and description and optionally:
- Enrolment key – If you want students to enroll themselves in a group, write the key here and give the key to the students.
- Group messaging – enables group members to send messages to other group members within Moodle.
- Picture – you can upload a group picture for easy identification.
- Save Changes
Auto-Create Groups
- Enter the course site.
- Click “Participants.”
- Click on the cog and select “Groups.”
- Click on “Auto-create Groups.”
- Enter a Naming Scheme (use “#” for numbers and “@” for letters)
- Auto create based on “Number of Groups” or “Members per Group.”
- Enter the number of “groups” or “group members.”
- Group messaging – enables group members to send messages to other group members within Moodle.
- Select group allocation method.
- Prevent last small group – if groups are created by allocating a certain number of members, select this box to prevent a group being created with a small number (the students will be allocated to different groups).
- Submit
Add/Remove Members of a Group
- Enter the course site.
- Click “Participants.”
- Click on the cog and select “Groups.”
- Select the Group.
- Click “Add/Remove Users.”
- Select the Member Name/s (Possible more than one at a time).
- Click “Add/Remove”
Grouping
Groupings are a group of individual groups.
To create a grouping:
- Enter the course site.
- Click “Participants.”
- Click on the cog and select “Groups.”
Create groupings Manually or Automatically
To Manually Create a Grouping:
- Select the “Groupings” tab.
- Click on “Create grouping”
- Enter a Group name and description.
- Save Changes
To Auto-Create a Grouping:
- Click on “Auto-create Groups.”
- Enter a Naming Scheme (use “#” for numbers and “@” for letters)
- Auto create based on “Number of Groups” or “Members per Group.”
- Enter the number of “groups” or “group members.”
- Group messaging – enables group members to send messages to other group members within Moodle.
- Select “New Grouping.”
- Enter a Grouping Name
- Submit
Gradebook -- View Only Members of a Group
- Ensure that the course settings are set to show groups.
- Enter the Course.
- Click on the “Cog” and select “Edit Settings.”
- Select the “Group Mode” (It is possible to change the mode on individual tasks).
- Save and Display.
- Click on Grades.
- Select the group to display.
Restrict Access to a Specific Group
- Enter the course site.
- Click “Edit.”
- Click “Add an activity or resource.”
In the settings of the activity or resource, in the section “Restrict Access”:
- Click “Add Restriction”
- Select “Group”
- Select the criterion.
- Save
Send a Message to a Group
- Ensure that the course settings are set to show groups.
- Enter the Course.
- Click on the “Cog” and select “Edit Settings.”
- Select the “Group Mode” (It is possible to change the mode on individual tasks).
- Save and Display.
- Click on Participants.
- Select “Groups”
- Select the Group Name
- Click Apply Filters
- Select all the members.
- Select “Send a Message”


